




Key Takeaways
- The Nivi drape is the most common saree style, consisting of six core moves and taking about 5–10 minutes to learn.
- Gather materials like a 5.5–6 metre saree, well-fitted petticoat, and safety pins before starting.
- Follow the Nivi drape steps: tuck, wrap, pleat, tuck pleats, wrap again, drape pallu, and pin.
- Common beginner mistakes include incorrect petticoat fit, uneven pleats, and loose wrapping.
- Different fabrics require adjustments; heavier silks need fewer pleats while lighter materials require more for stability.
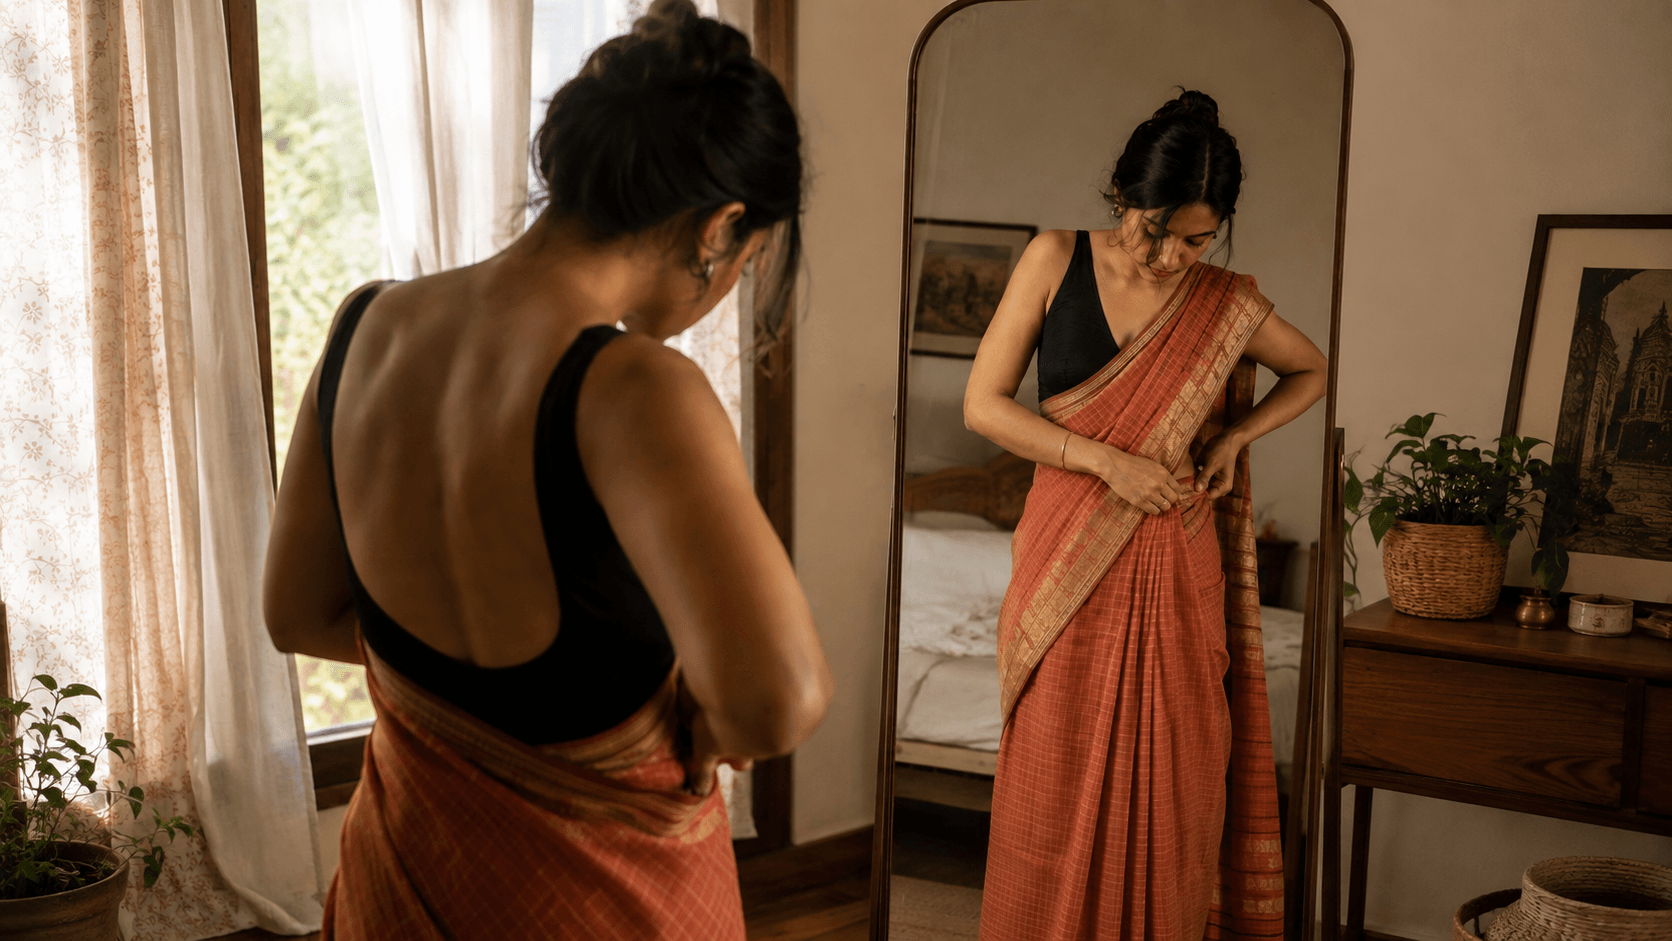
Every Nakshapatta reader remembers the first time a six-yard length of fabric felt less like clothing and more like a puzzle. Here’s the good news: draping a saree is a technique, not a mystery — and once your hands learn the sequence, it takes under five minutes.
The most common way to drape a saree is the Nivi style, in six core moves: tuck the plain end into your petticoat at the navel, wrap the fabric once around your waist, pleat it into 5–7 folds and tuck the pleats in at the centre, wrap the remaining fabric around your waist a second time, drape the decorative pallu over your left shoulder, and pin it in place. A Nivi drape uses roughly 5.5–6 metres of fabric and takes 5–10 minutes once you’ve practised it a few times.
What You’ll Need Before You Start
- A saree — 5.5–6 metres for the Nivi drape, 8–9 metres if you’re trying the Nauvari or Madisar style
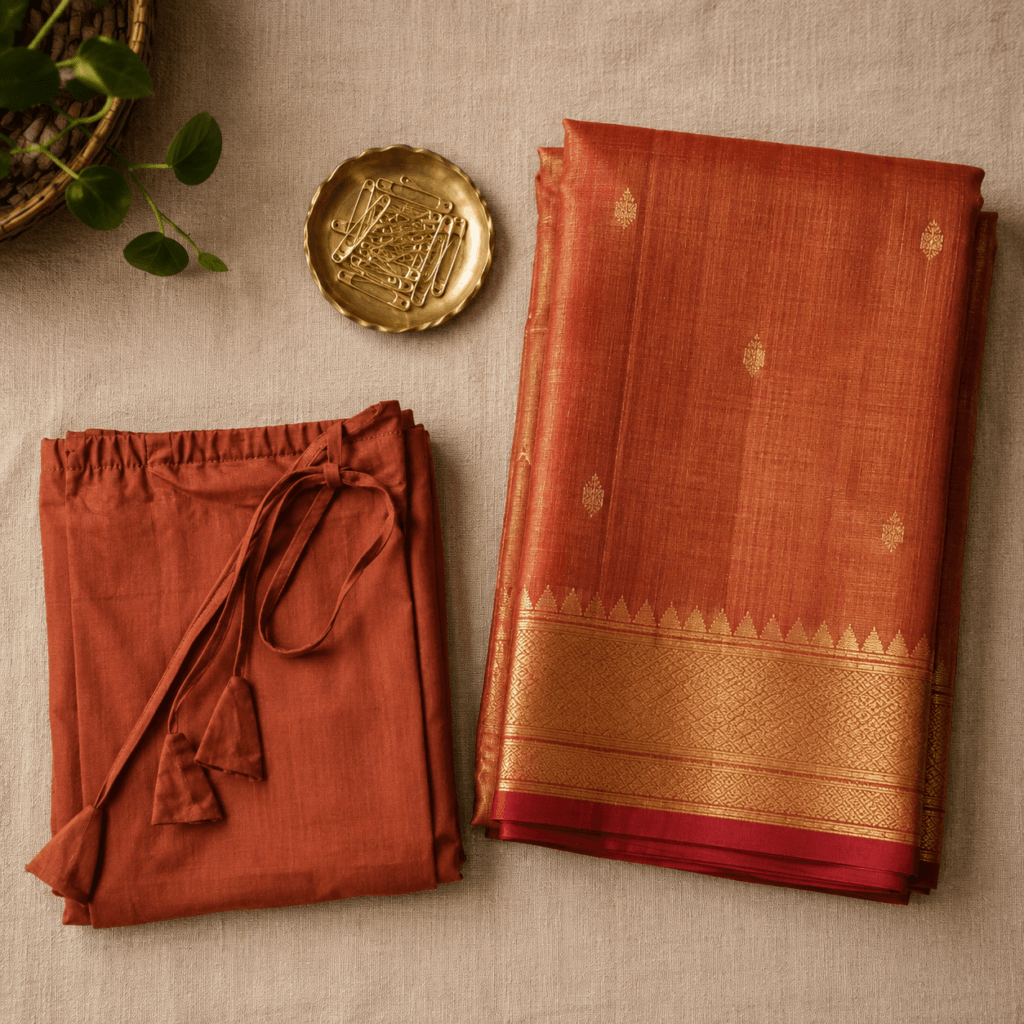
- A well-fitted petticoat or underskirt, tied at your natural waist
- A blouse that fits close to the body, with the sleeves and hem you’ll actually wear
- 4–5 safety pins
- A full-length mirror
- 10 uninterrupted minutes for your first few attempts
The Nivi Drape — Step by Step
The Nivi drape, sometimes called the Andhra style, is what most people mean when they ask how to wear a saree. It’s the style you’ll see at weddings, in offices, and on everyday train platforms across India, and it works with almost any weave — from a crisp handloom cotton to a heavy Banarasi silk. Here’s the full sequence.
- Tuck the plain end. Hold the non-decorative end of the saree and tuck it into the petticoat at the centre of your navel, letting the fabric fall to the floor.
- Wrap once around. Bring the fabric around your waist from right to left, keeping the bottom edge level with the floor throughout.
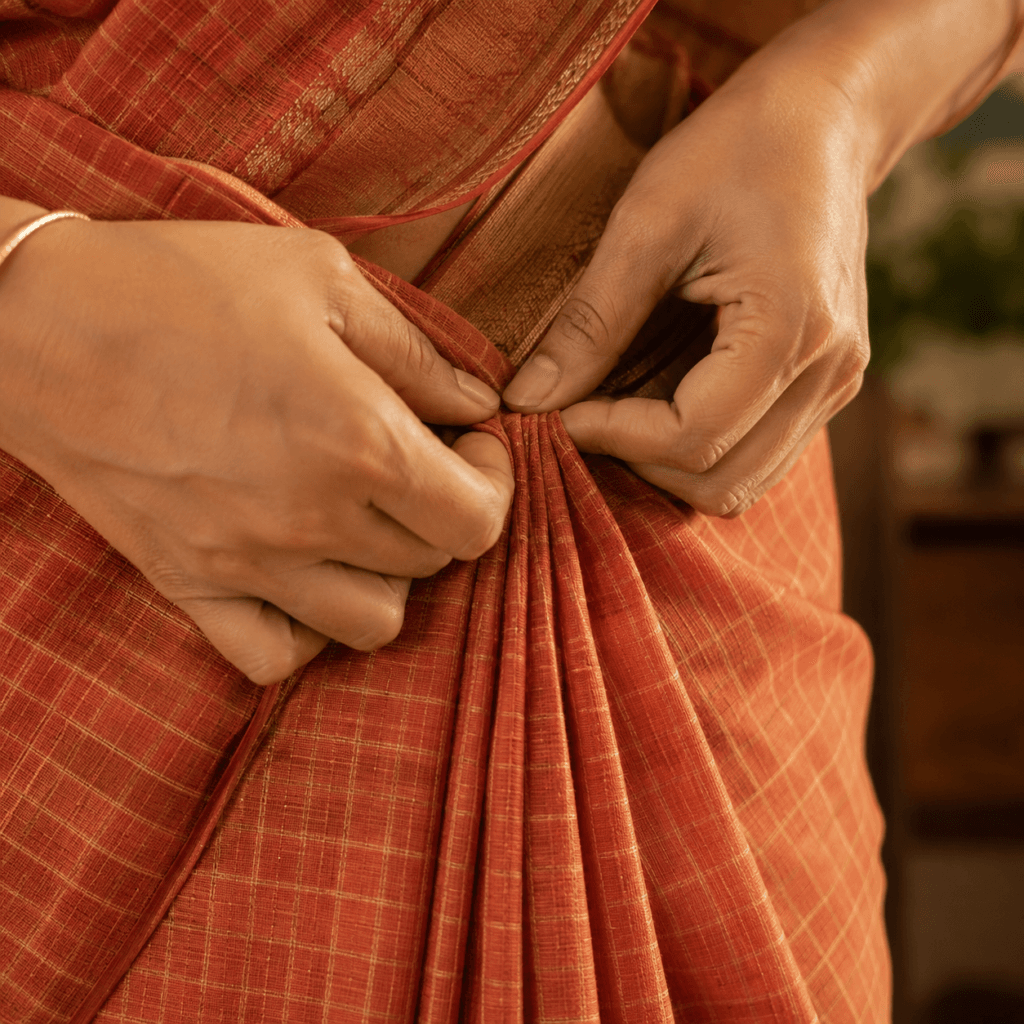
- Make the pleats. Back at the navel, pleat the fabric into 5–7 even folds, each about 5 inches wide.
- Tuck the pleats in. Hold the pleats together, tuck them into the petticoat just left of centre, and let them fall straight down.
- Wrap again. Take the remaining fabric and wrap it around your waist once more, left to right this time, tucking any loose fabric in at the right hip.
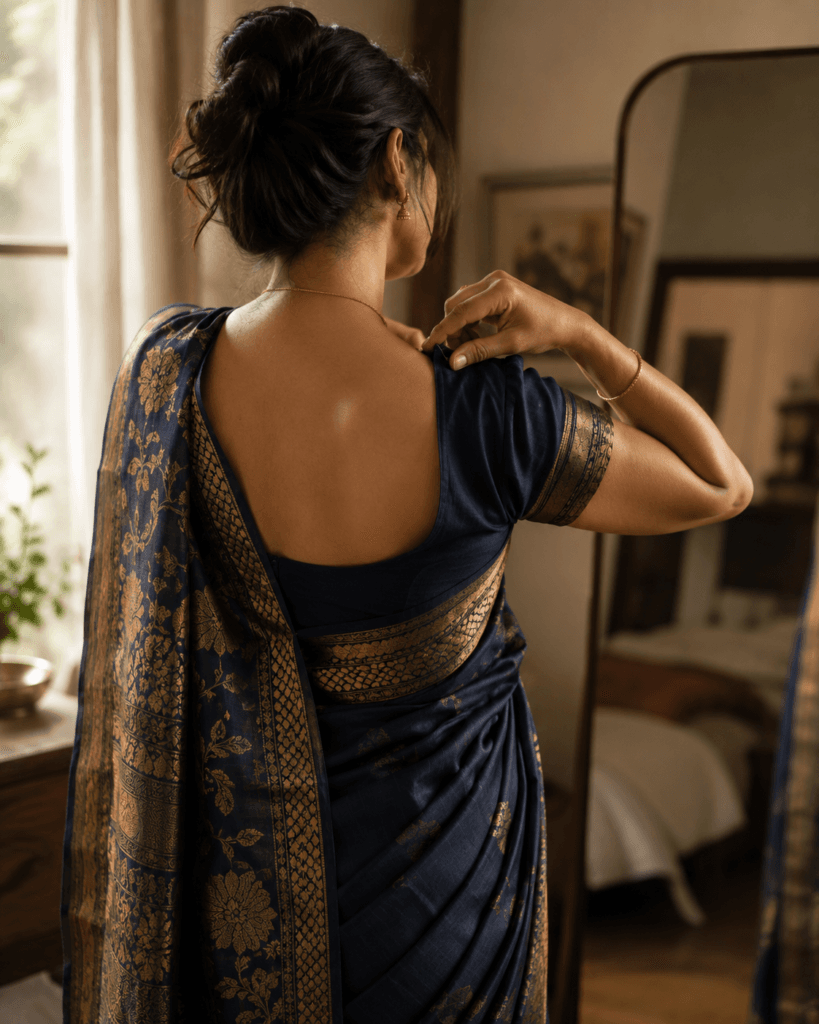
- Form the pallu. Bring the decorative end diagonally across your chest and drape it over your left shoulder.
- Pleat the pallu (optional). For a more tailored finish, pleat the pallu into 4–5 folds before it goes over the shoulder.
- Pin it down. Secure the pallu to your blouse shoulder seam with a safety pin, and pin the waist pleats too if the fabric is slippery — georgette and chiffon especially need it.
Common Draping Mistakes First-Timers Make
- Skipping the petticoat fit check — if it sits below your natural waist, the whole drape falls with it.
- Making the pleats too wide. Aim for 5 inches; wider pleats bulk up at the waist.
- Wrapping too loosely. Each layer should be snug enough to hold pleats in place without a pin.
- Ignoring fabric weight. A heavy silk needs fewer, firmer pleats; a light cotton needs more pleats to sit well.
- Rushing the first wrap. The floor-level edge you set in Step 2 determines your entire hemline — get it right before you pleat.
Draping Different Fabrics — Why It Changes Your Technique
Not every saree drapes the same way, and this is where genuine handloom fabric shows its character. A pure katan silk Banarasi holds a pleat with almost no effort — the weight of the zari does the work for you. A cotton handloom like a Chanderi or Maheshwari is lighter and needs a firmer tuck and a couple of extra pleats to sit properly through the day. Georgette and chiffon — common in powerloom and synthetic sarees — are the trickiest to drape: they’re slippery, so pin generously. If you’re not sure what you’re working with, our guide on telling handloom from powerloom and our five tests for identifying pure silk are worth reading before your next saree purchase. For the full picture on weave types and their properties, browse our Weave Guide, or look up any unfamiliar term in the Indian Textile Glossary.
Regional Drape Styles Worth Knowing
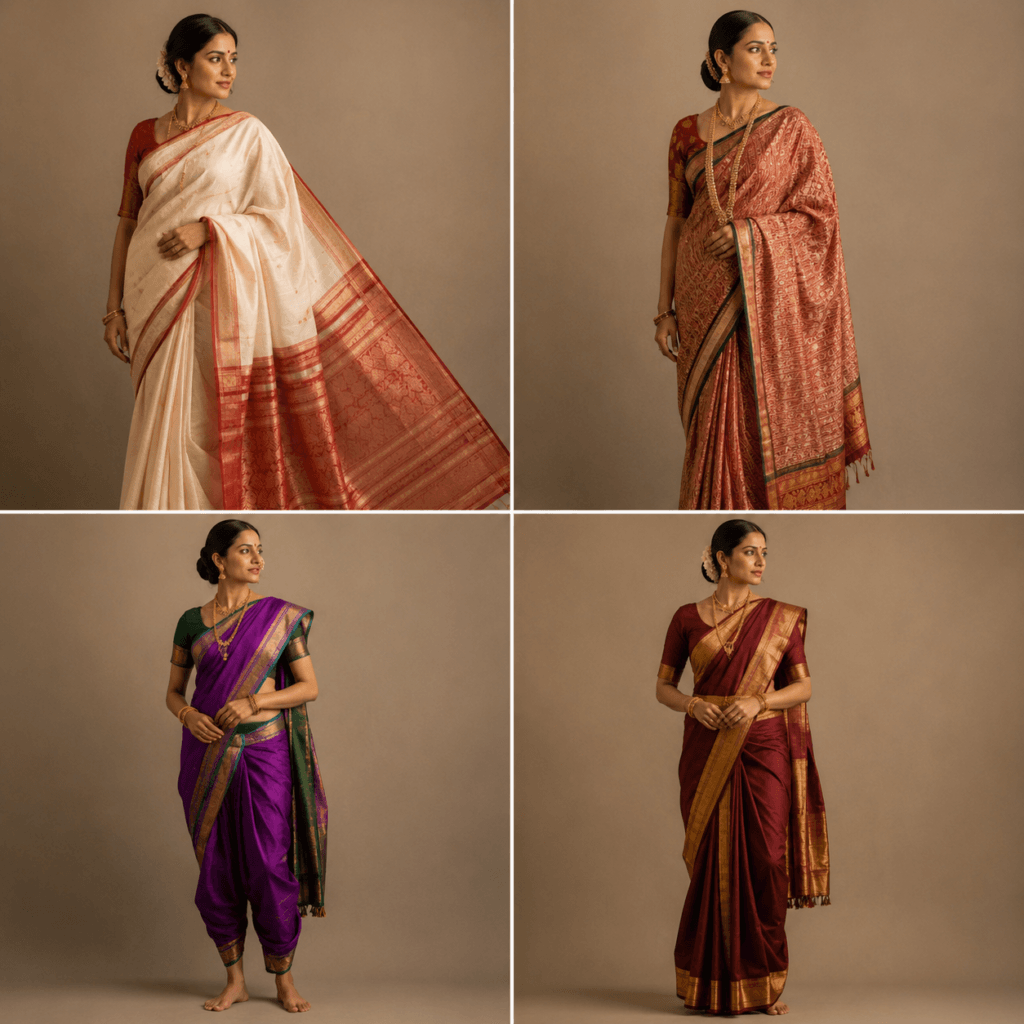
The Nivi drape is only one of dozens of ways India wears a saree. Each regional style evolved around a different climate, occupation, or ceremony — knowing a few is a quick education in the country’s textile geography.
Bengali / Atpoure Drape
No front pleats at all — the saree is wrapped smoothly around the waist, and a bunch of household keys is traditionally tucked into the front fold. The pallu is broad, taken across the back and over the right shoulder, then brought forward again over the left, giving a distinctive double-wrapped chest.
Gujarati / Seedha Pallu
Pleats at the waist work much like the Nivi drape, but the pallu is brought from the back over the right shoulder and displayed across the front of the body — spread out and often pinned to show off the border and embroidery, rather than left to hang down the back.
Maharashtrian / Nauvari
A nine-yard drape, traditionally worn without a petticoat. The pallu is passed between the legs and tucked in at the back, dhoti-style — a silhouette built for freedom of movement, historically worn by women who worked in the fields or danced the lavani.
Tamil / Madisar
A nine-yard silk drape worn by Iyer and Iyengar communities for ceremonies and temple visits. Both ends of the fabric are tucked in a dhoti-style base, making it one of the most structured and layered drapes in the country — it usually takes an experienced hand to help the first few times.
Watch It in Motion — Video Tutorial
A step-by-step video makes the pleating motion far easier to follow than photos alone. Watch the wrap-and-tuck sequence a few times before you try it in the mirror yourself.
Tips to Make Your Saree Stay Put All Day
- Pin at three points — shoulder, waist, and one hidden pin through the pleats.
- Wear a petticoat with a drawstring, not elastic, for a smoother, more adjustable line.
- For silk sarees, avoid ironing pleats too crisply before draping — a little give helps the fabric fall naturally.
- If your pallu keeps slipping, pin it to your blouse’s shoulder seam, not just to the fabric of the saree itself.
- Do a full practice drape in front of a mirror a day or two before your event, not the morning of.
Frequently Asked Questions
Most Nivi-style sarees are 5.5 to 6 metres. Nauvari and Madisar drapes use 8 to 9 metres, since the extra length is also tucked between the legs.
Traditional drapes like the Nauvari and Madisar were designed to be worn without one, but the Nivi drape — the most common style today — needs a well-fitted petticoat for the pleats to hold their shape.
The Nivi drape is the most forgiving for first-timers. It uses one straightforward pleating step and works with almost any saree fabric.
Pin the pleats to the petticoat at the tuck point, and make sure your first wrap is snug rather than loose — a loose base layer is the most common reason pleats come undone.
Yes. Heavier silks like Banarasi need fewer, firmer pleats since the zari adds weight and structure; lighter cottons and georgettes need extra pleats and pins to hold their shape through the day.
Get the Nakshapatta Edit
One textile fact, one styling tip, and one honest recommendation — straight to your inbox, every week. Use the sign-up form on this page to join The Nakshapatta Edit.